
To fight Bael in Clover RPG, obtain the Cursed Bell from the ghost’s four-bell quest in the Cursed Forest, then use it at the boss entrance. In the recorded solo fight, parrying builds Bael’s posture; breaking it brings him down and creates the main damage window. Watch his arm movement for the black-flame attack instead of waiting for the flames to reach you.
Bael walkthrough from Its_Nin’s October 24 recording. Exact patch is not identified; other boss encounters are not covered.
ON THIS PAGE
Get the Cursed Bell and reach BaelRead the cue, then choose the responseTurn a posture break into damageRecognize the win and collect the rewardSources and encounter scopeGet the Cursed Bell and reach Bael
Start from Kamo Village and travel east toward the Eldritch Region and the Cursed Forest. The route footage identifies the quest site by its stone ruins and unnamed ghost. Use the original route chapter alongside the map if the region names or landmarks are unfamiliar.
The bell quest and the boss entrance are separate destinations. Having reached the ruins does not put you inside the fight. The recording shows the Cursed Bell reward after the fourth bell; look for that item before travelling to the next location.
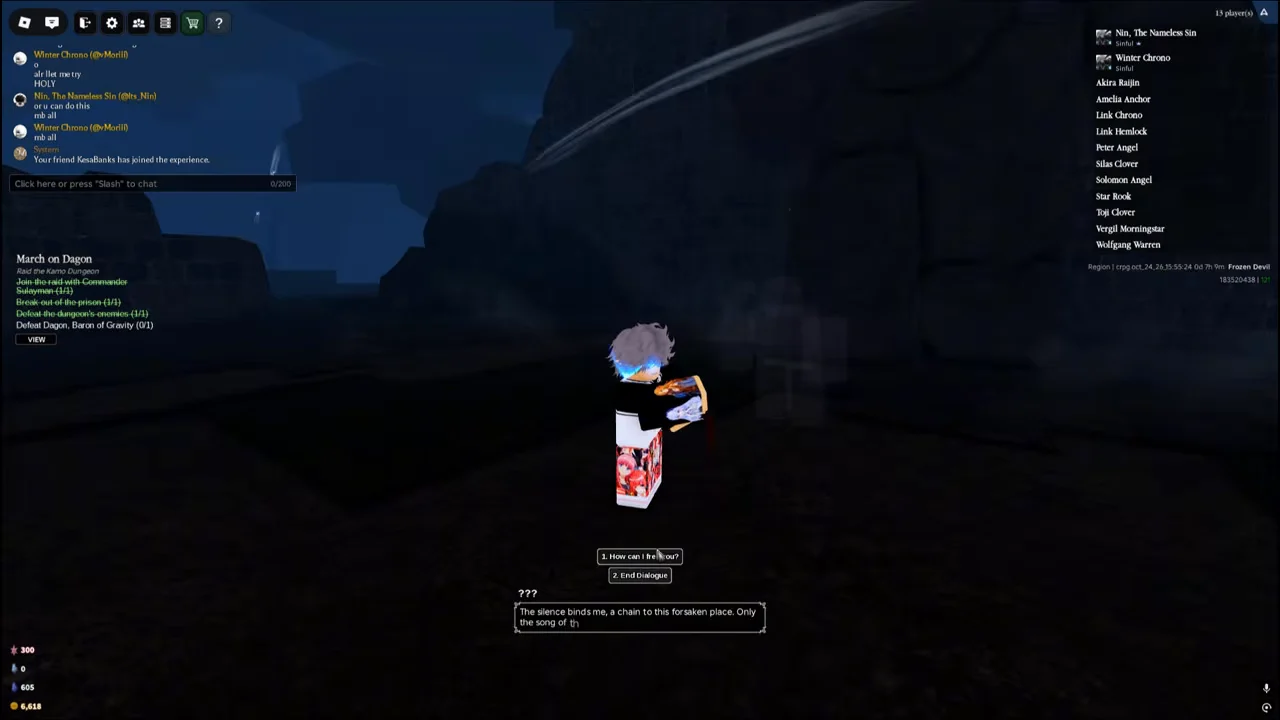
- At the stone ruins in the Cursed Forest, speak to the ghost labelled “???”. Choose the dialogue offering to free it and accept its request.
- Search the same ruined structure for four bells. Interact with all four; the route moves around the ruin rather than sending you to four separate regions.
- Finish the fourth bell and check for Cursed Bell in the reward notification or inventory. The ghost disappears when the task is completed in the recording.
- Continue to the separate shrine entrance shown at the end of the route chapter. Use the Cursed Bell to open Bael’s door, then go inside. The written boss reference calls this entrance the Broken Church.
Read the cue, then choose the response
Bael is shown as a floating dark figure, with “???” above the boss bars. The table uses visual descriptions instead of inventing official move names. On PC, F is block/parry and Q plus a movement key is the roll input; see the combat controls.
Swipe or scroll sideways to see every column.
| Recognizable cue | Response in the solo guide | What to watch next |
|---|---|---|
| A large swirling black-and-purple sphere appears around your position. | Time repeated F parries through its multiple hits. Do not treat the first parry as the end of the move. | The guide shows this attack repeating; stay ready for a second sphere. Successful parries help build the posture bar. |
| Small dark projectiles gather around Bael and track toward you. | Parry the incoming projectiles. If you cannot read the timing, the creator also uses blocking or evasion rather than committing to an attack. | Getting caught can leave you stunned for the next attack. Recover your spacing before dealing damage. |
| Bael raises or moves his arm before black flames erupt at your position. | Roll as the arm motion starts and keep moving. Waiting for the flame effect itself is late in this recording. | Reposition and read the next cue; the flame cast is not your main damage window. |
Turn a posture break into damage
The basic loop is defense, posture break, damage, then reset. Parry the readable attacks until Bael’s posture fills. When he drops to the floor, move in and spend your attacks during that opening. Pull back as he recovers rather than trying to continue the same combo into his next cast.
Recovery can summon minions. Its_Nin tags them with damage and lets Bael’s attacks finish them; at 6:44–6:49 the character’s health visibly refills. This is a recovery opportunity in the recorded run, not a promise that every summon restores full health. Do not stand still waiting for a heal while a flame cue is starting.
The demonstrated character uses Time and a light weapon, so a particular Flame build is not an entry requirement. A Flame and Mana Shield setup is a separate preparation option, not a replacement for the parry and roll timings.
Recognize the win and collect the reward
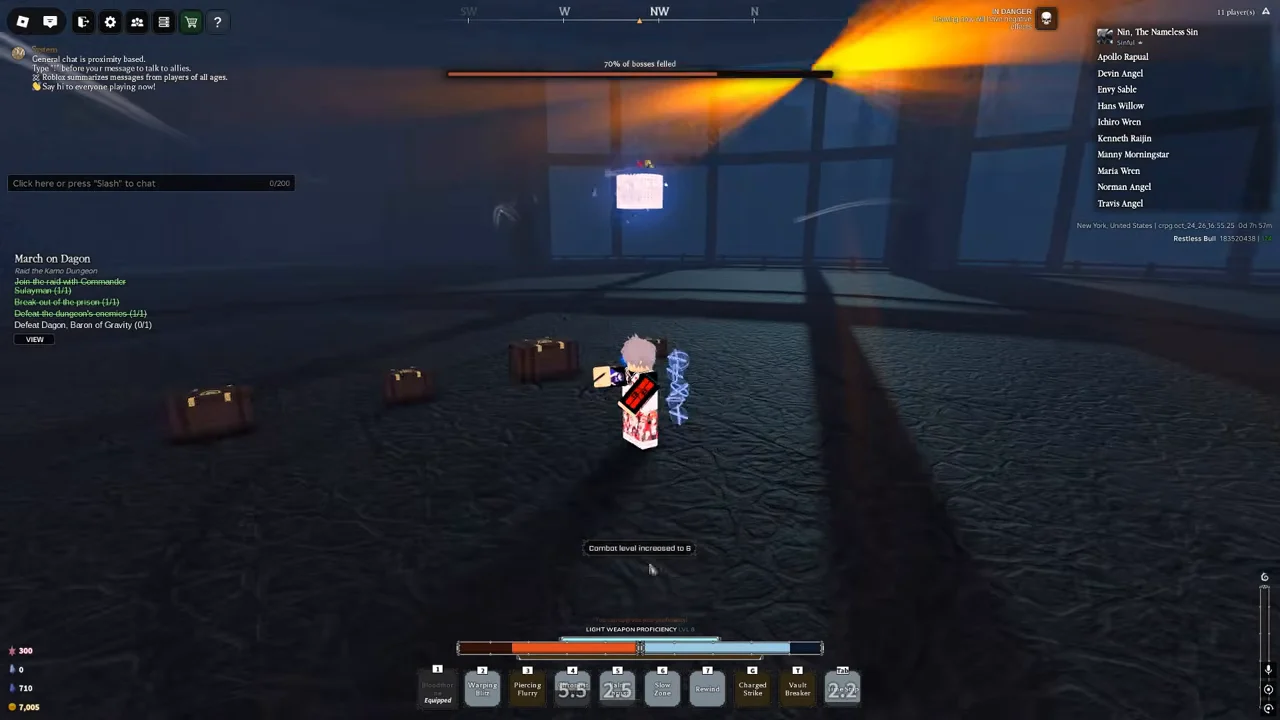
Use the victory message, Bael’s disappearance and the appearance of loot chests as the completion signal. The solo recording wins before the visible health bar is completely empty; do not stop attacking at a guessed percentage before the game actually awards the win.
Interact with the chests after the fight to inspect and collect their contents. The footage shows multiple chests, but it does not establish fixed contents or a guaranteed piece of endgame gear.
The written boss reference lists Bael as a rare Magic Reroll source. It gives no verified drop rate, so one clear does not promise a reroll. The magic reroll guide explains the item and the shop alternative.
Sources and encounter scope
The access steps, attack cues and completion sequence come from the original creator’s route and fight chapters. The written reference supplies the Cursed Bell naming and the rare reroll-drop context. Other boss names are not presented here as finished battle guides.